Mandala Canvas
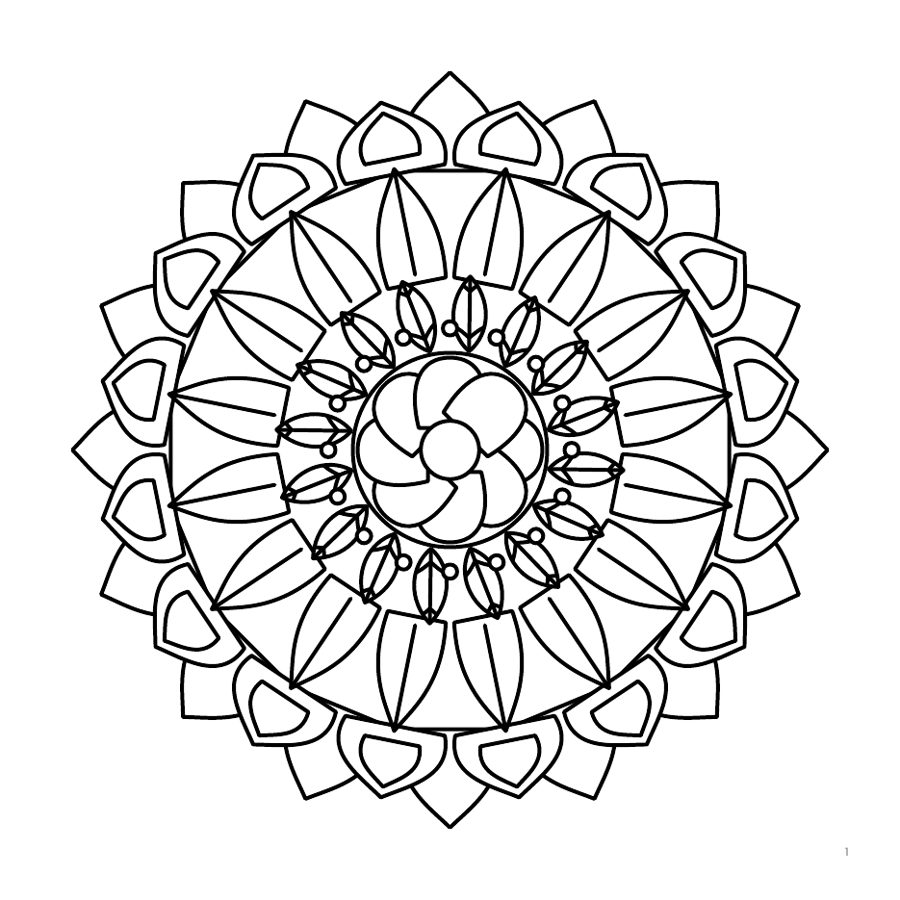
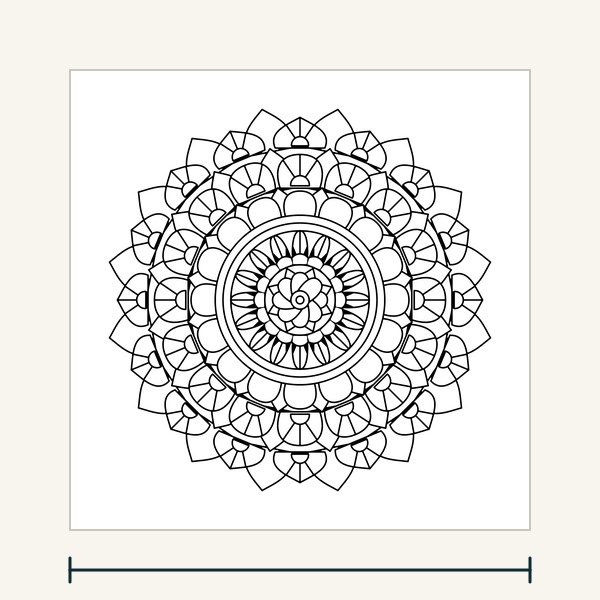
Good blending turns a flat mandala into something with depth, as if the petals curved toward the center. You don't need talent: you need patience and a hand whose pressure builds up little by little.
What you need
- Three pencils from the same color family: a light one, a medium one and a dark one.
- A white or colorless blender pencil, if you have one.
- A kneaded eraser to lift mistakes without damaging the paper.
The three steps
Lay down the light base
Color the whole area with the lightest shade, holding the pencil at an angle and pressing very lightly. The paper should still show through.
Add the mid tone on one side
Decide where the light comes from. On the opposite side, add the second color over half of the area, with small circular strokes.
Finish with the dark edge
Use the darkest color only along the shaded edge. Then go over the whole area again with the light color to melt the layers together.
Tip: choose three neighboring tones, such as yellow, orange and brick red. With colors that are too far apart, the blend breaks up.
Common mistakes
- Pressing hard from the start. The pencil wax fills the paper's tooth and later layers slide off. Many light layers work better.
- Changing the light direction. Decide where it comes from before you start and keep it for the whole ring: that is what gives the mandala its order.
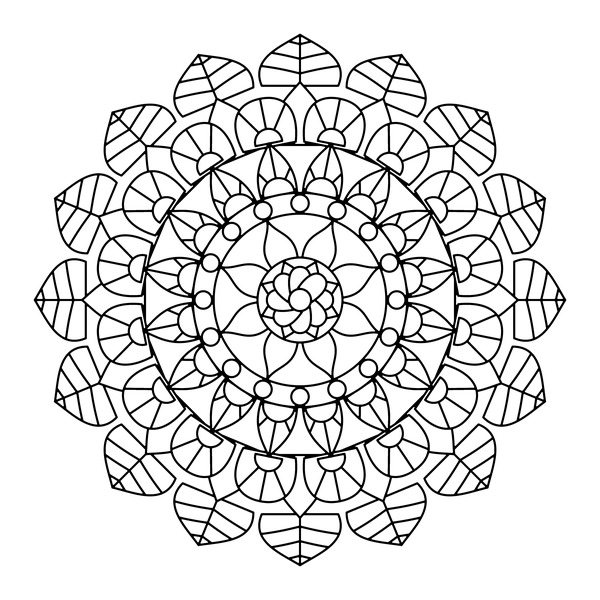
- Blending areas that are too small. Below a few millimeters a flat color is enough; save blending for the big petals.